
SSL Blog Part 1 - SSL Folder and CSR Gen
I would like to walk you through Enabling SSL in your EPM environment. This involves a number of steps. For this post we will focus on folder structure and generating a Certificate request (CSR). If possible please configure your new environment in a normal NON-SSL manner. Or if this is an existing environment, validate that all products are functioning as expected while not SSL enabled. This will reduce some headaches if you need to trouble shoot down the road. It will be good to know that the EPM products were functioning before you enabled SSL.
After validating EPM, the next course of action is to start by setting up your folder structure. The consistency of this folder structure will help to keep things straight in your head as you move forward.
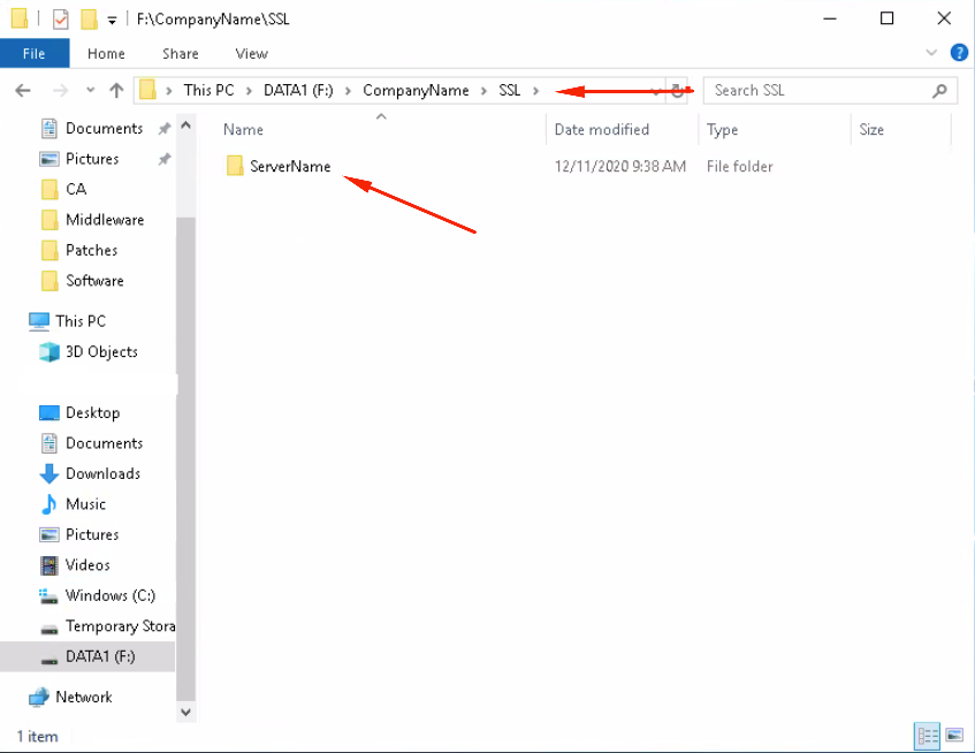
In this example, Oracle has been installed on the F Drive. You will need to create the folder structure as seen below. CompanyName can be whatever your company name is or whatever you choose that works for you. We use “iArchSol” for the start of this folder structure. The next folder is self explanatory as an SSL location. As you will need to do this for all servers in your environment please use the server name that you are working on.
F:\CompanyName\SSL\ServerName
Under your ServerName folder please create 2 folders. The first is “Requested” and the second is “Signed.”

You will also need to create a location for your Certificate Authorities (CA). At the same level as your Server Name please create a folder called “CA” as seen below:

The next folder to create will be under your Oracle_Home. In this example the location is F:\oracle\Middleware\EPMSystem11R1. Please create a folder called “SSL.”

With your folder structure now in place the next step is to create a CACERTS Java KeyStore(JKS) and private server key. You will need to obtain the following information from your client’s network team. This is an example of the info needed.
CN=Servername (Fully Qualified)
OU=IT Operations
O=Company
L=City
ST=STATE
C=Country
With this information and our folder structure we will be able to create a CACERT Java KeyStore. Open an Administrative Command Prompt and enter the following command.
Please move your directory location to the F drive for this example.
Type: F: <Press enter>
Then move to F:\Oracle\Middleware\EPMSystem11R1\SSL.
Type: cd \Oracle\Middleware\EPMSystem11R1\SSL <Press enter>
This is not required for our command to work but is does help to keep things clear in your head.
Now we can run our command to create the CACERT Java KeyStore.
F:\Oracle\Middleware\jdk1.8.0_181\jre\bin\keytool -genkey -alias epm_ssl -keyalg RSA -keysize 2048 -sigalg SHA256withRSA -dname "CN=ServerName (Fully Qualified), OU=IT Operations, O=Company, L=CITY, ST=STATE, C=COUNTRY" -keypass changeit -keystore F:\Oracle\Middleware\EPMSystem11R1\ssl\cacerts -storepass changeit
Please run the following command in order to see what is in you JKS now.
F:\Oracle\Middleware\jdk1.8.0_181\jre\bin\keytool -list -v -keystore F:\Oracle\Middleware\EPMSystem11R1\ssl\cacerts -storepass changeit > F:\Oracle\Middleware\EPMSystem11R1\ssl\cacerts-output.txt
This output text will be created under your new folder structure F:\Oracle\Middleware\EPMSystem11R1\ssl\cacerts-output.txt based on the command you ran.

I have hidden some of the specific information here but the structure is the same. You should see the Alias name of your keystore “epm_ssl”. You should note that the Entry type should be “PrivateKeyEntry”. Also, your Certificate Owner and Issuer on lines 11 and 12 will be filled out.

Now that you have created your JKS using the client provided information you will be able to generate your Certificate signing request.
Please run the following command:
F:\Oracle\Middleware\jdk1.8.0_181\jre\bin\keytool -certreq -v -alias epm_ssl -file F:\CompanyName\SSL\ServerName\Requested\FQDN servername.csr -sigalg SHA256withRSA -keypass changeit -keystore F:\Oracle\Middleware\EPMSystem11R1\ssl\cacerts -storepass changeit
This command as shown will create a CSR and place it under F:\CompanyName\SSL\ServerName\Requested. It will be called as shown in the command above “FDQN servername.csr”. You would put in whatever the fully qualified domain name of the server you are working on instead of this example of “FDQN servername”. Please keep the “.csr”

The next step here is to send a copy of your newly generated CSR to the appropriate Certificate signing authority for your organization. Once they return the signed Certificate, you can look for my next blog about importing your Signed certificates and the steps involved.